
 07730 898992
  St AustellCornwall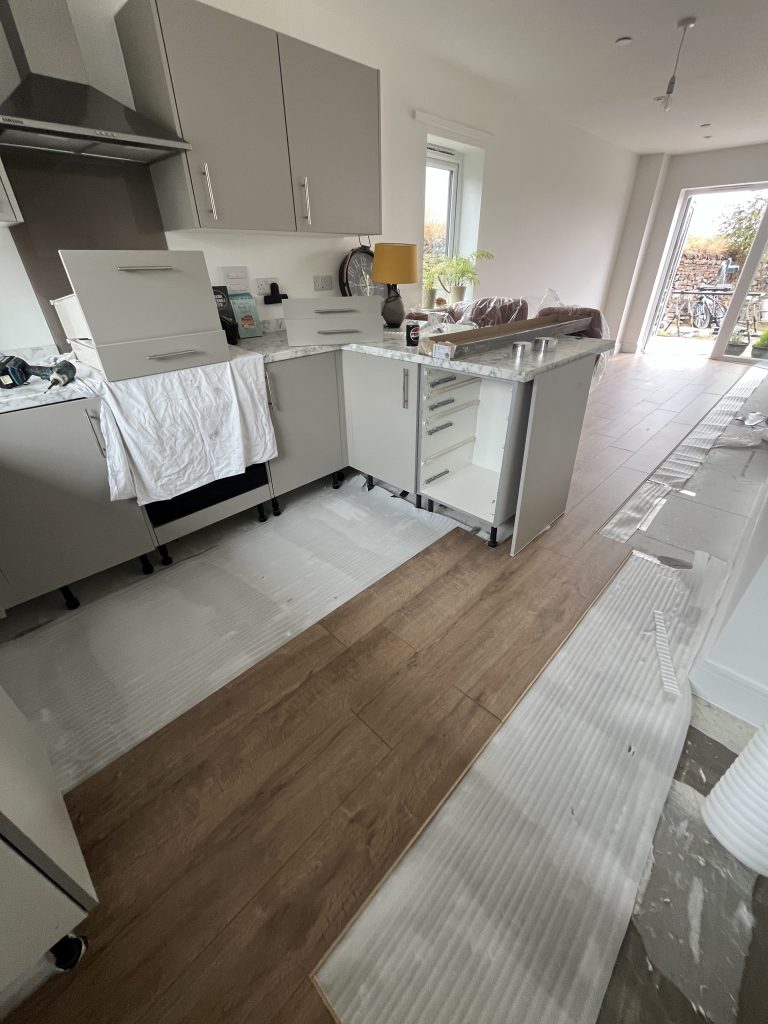
When our customer moved into their brand new three-bedroom end-of-terrace home, the floors throughout were bare subfloor, ready for the finishing touch that would tie the whole house together. They wanted a warm, natural laminate that would run seamlessly from the ground floor hallway through the kitchen and living area, up the stairs, and across the first floor landing and all three bedrooms, with a crisp, professional finish around every door, fitting and kitchen unit. Here’s how the job came together.
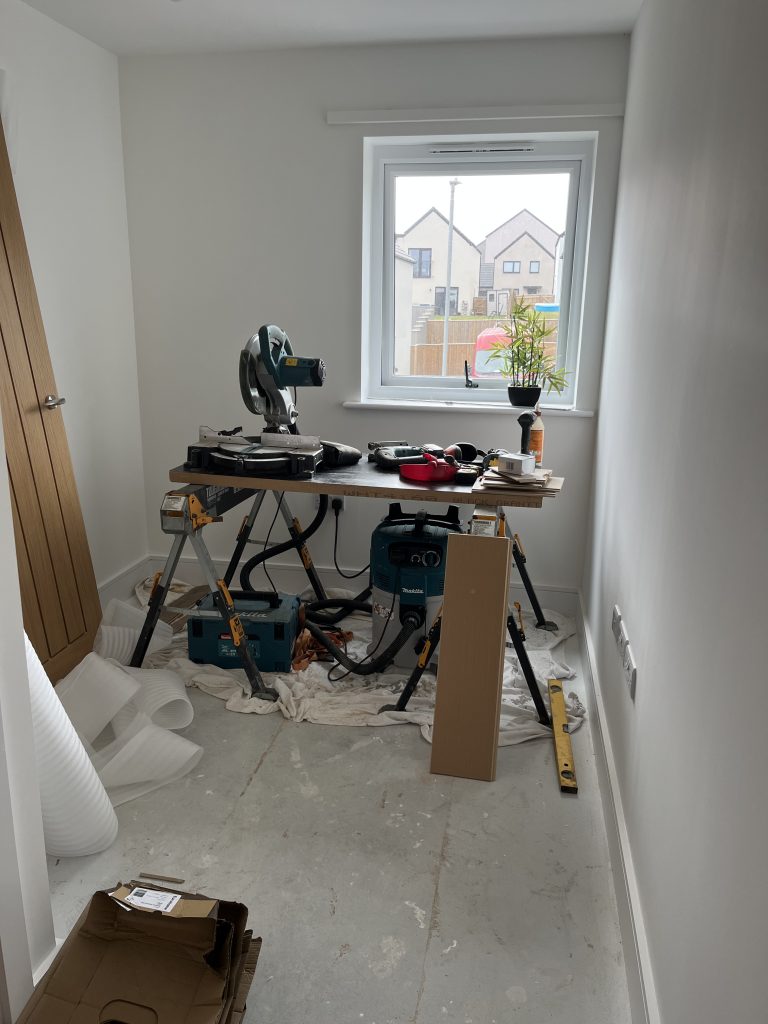
New build properties come with their own set of challenges. Walls and door linings are freshly fitted, underfloor heating and electrics are newly installed, and everything needs to be protected and worked around carefully. Our customer wanted a full house laminate installation, ground floor and first floor, in a warm oak tone that would complement the grey kitchen units and neutral décor throughout, with no visible gaps or corner-cutting on the finish anywhere in the house.
Before a single board went down, the subfloor was checked for level and cleanliness, and the underfloor heating and electrical points were carefully noted and protected. In new builds, it’s common to find manifolds, meter cupboards and consumer units tucked into small utility spaces, as was the case here, and the flooring had to be run cleanly right up to and around all of this equipment without disturbing any of the connections.
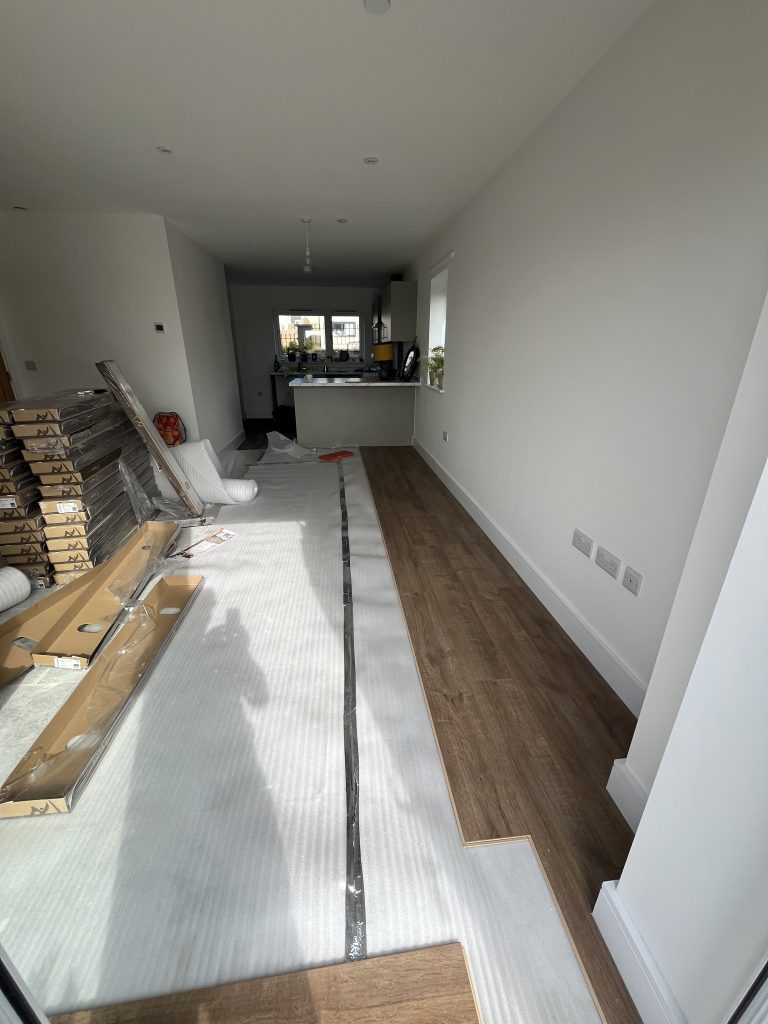
An underlay was laid across the whole space first, giving a bit of cushioning underfoot and helping with sound insulation between floors, before the laminate boards themselves went down.
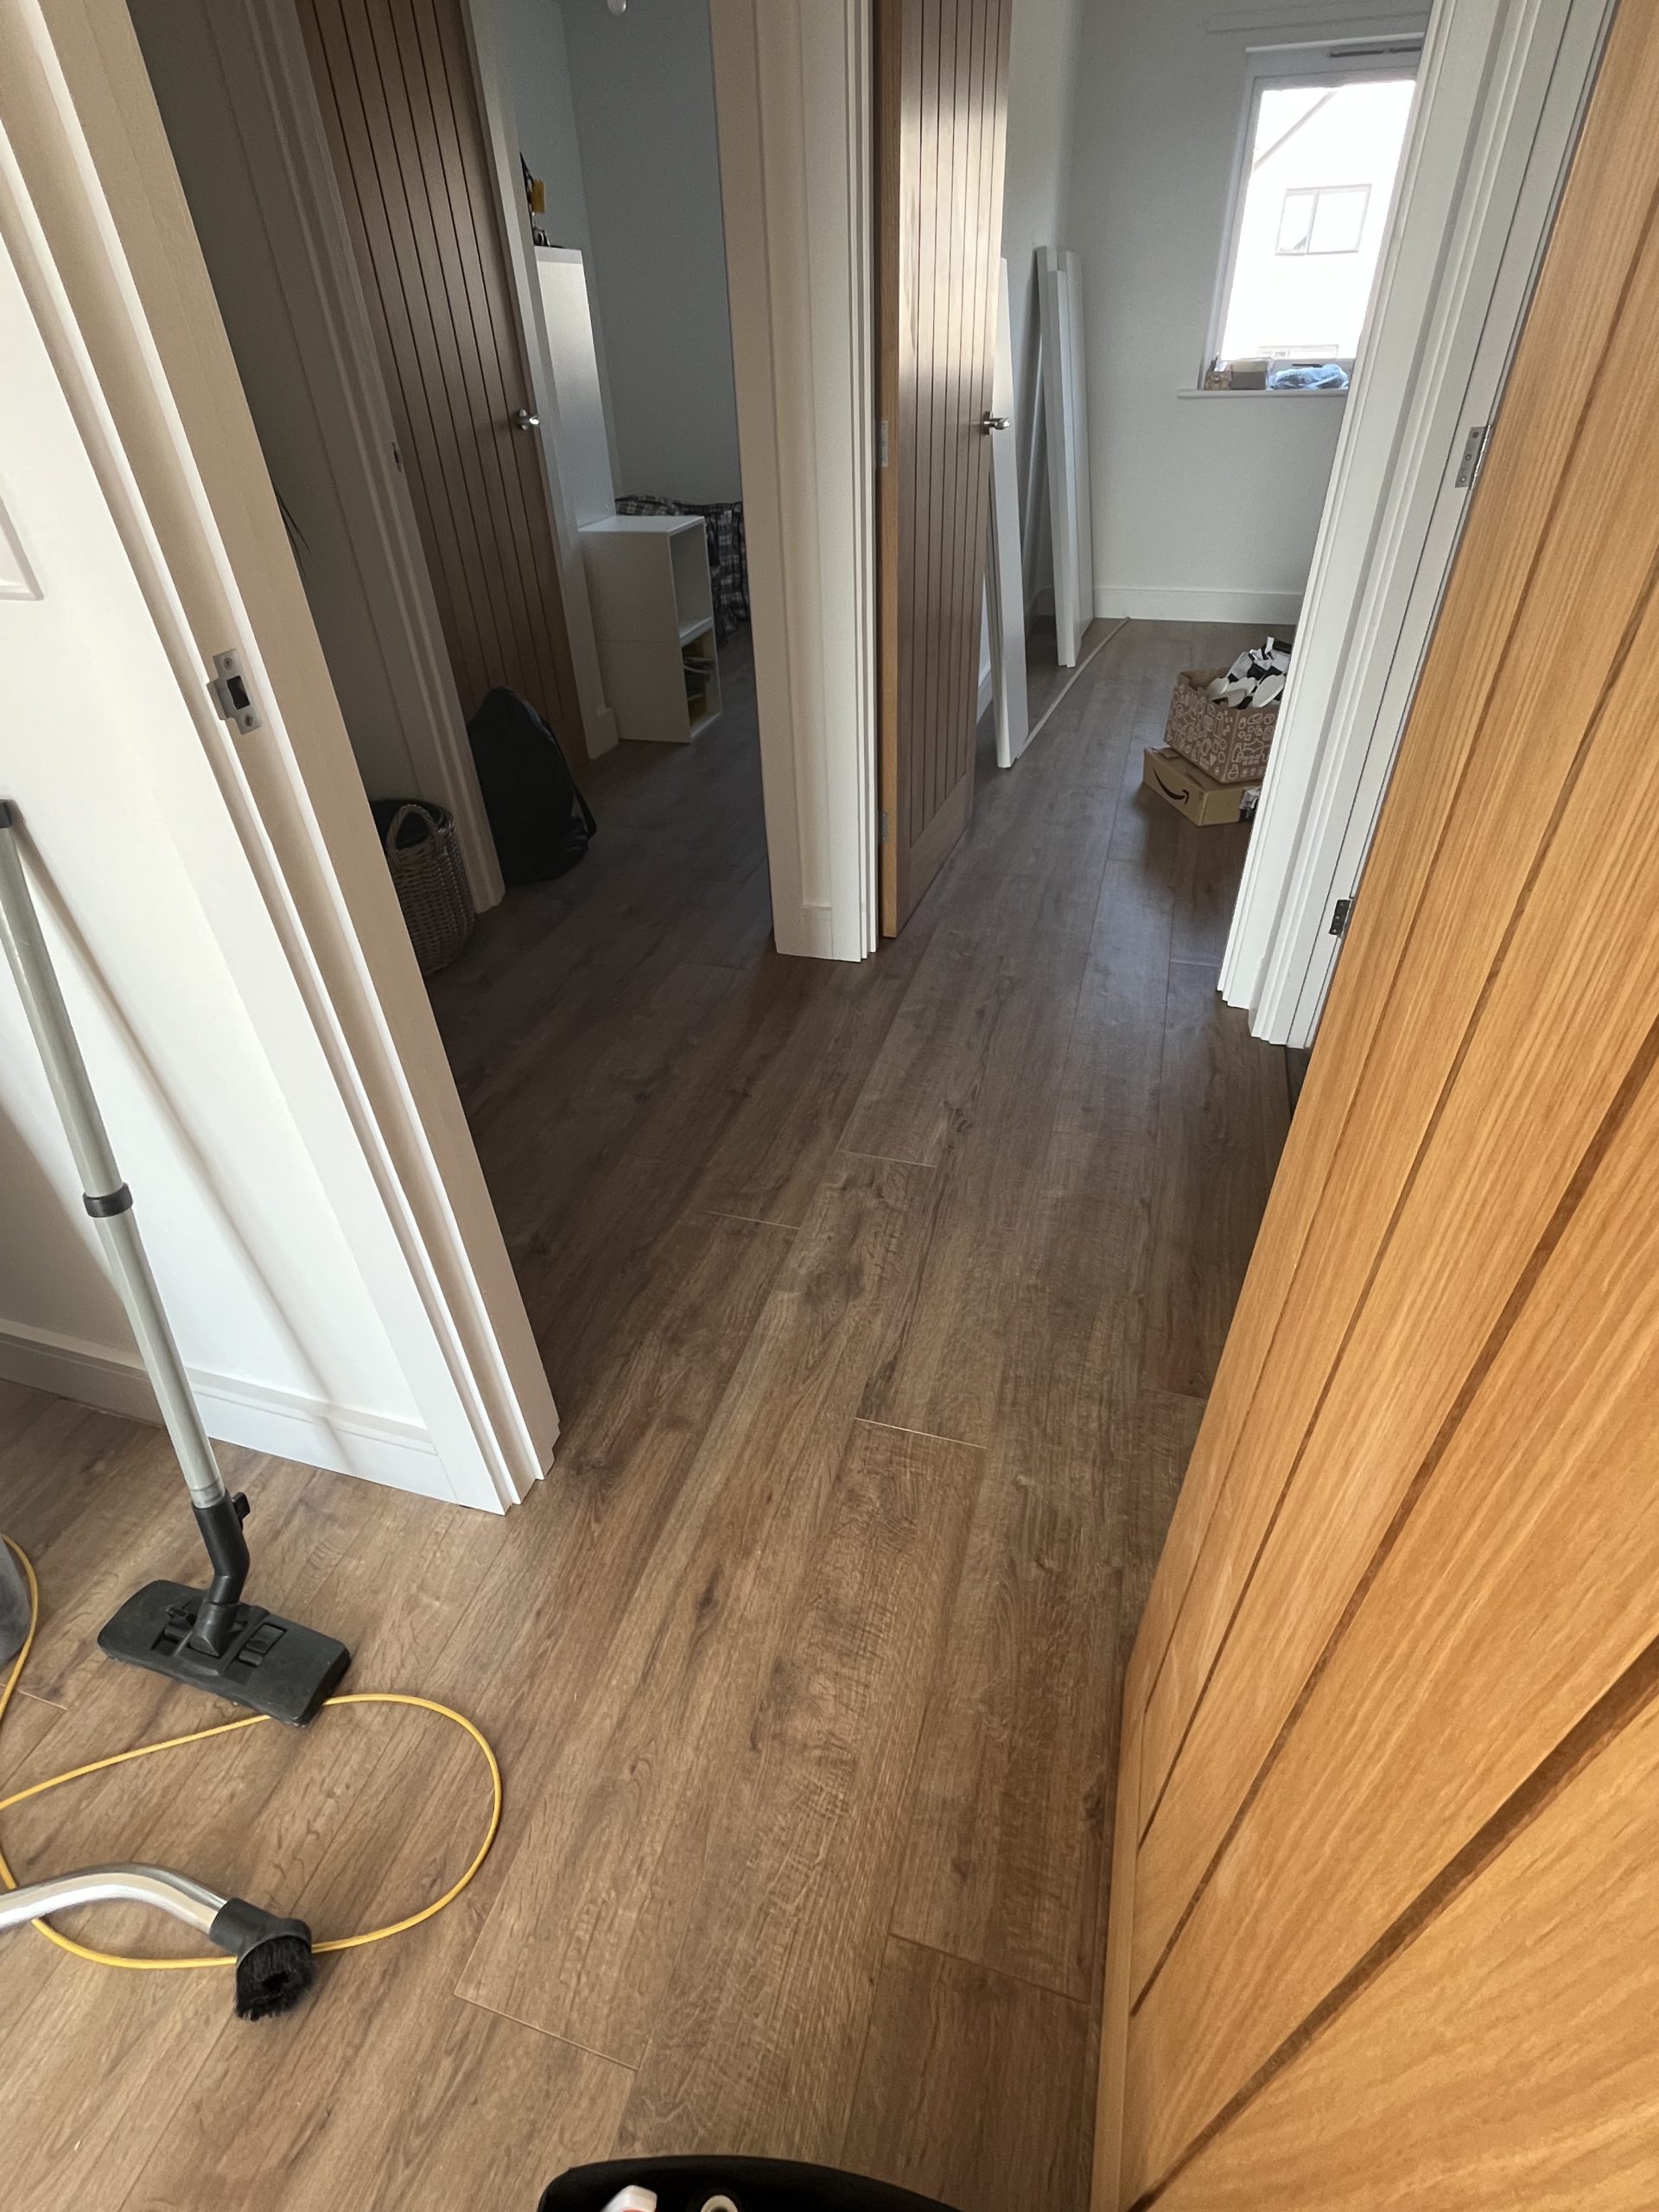
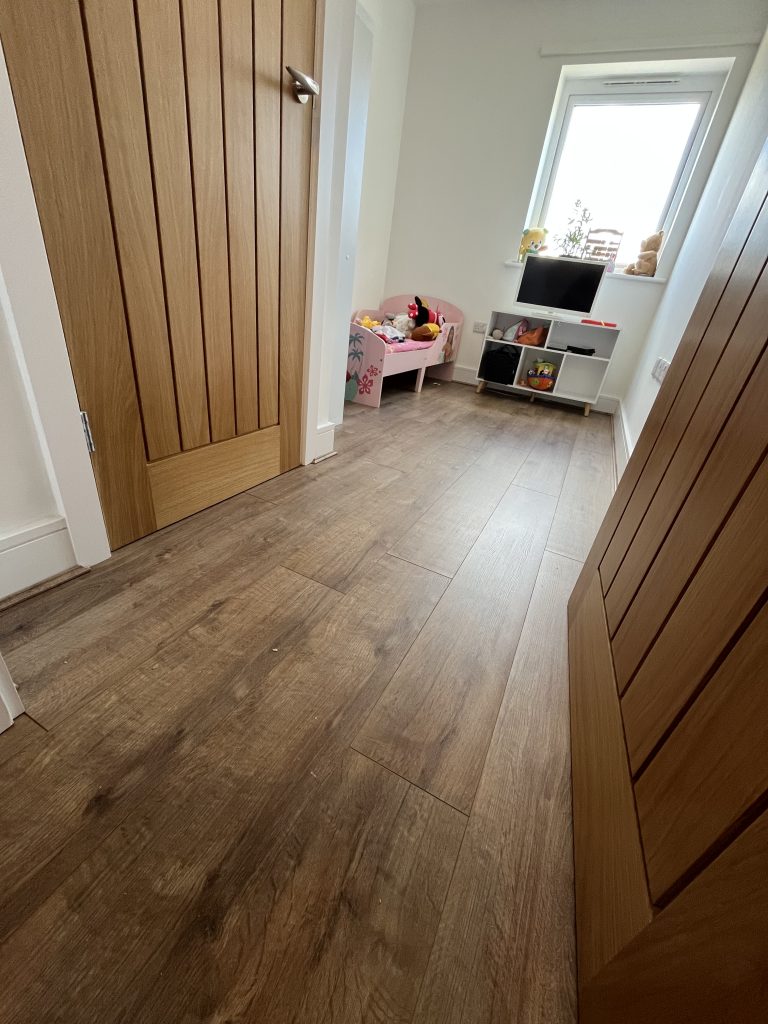
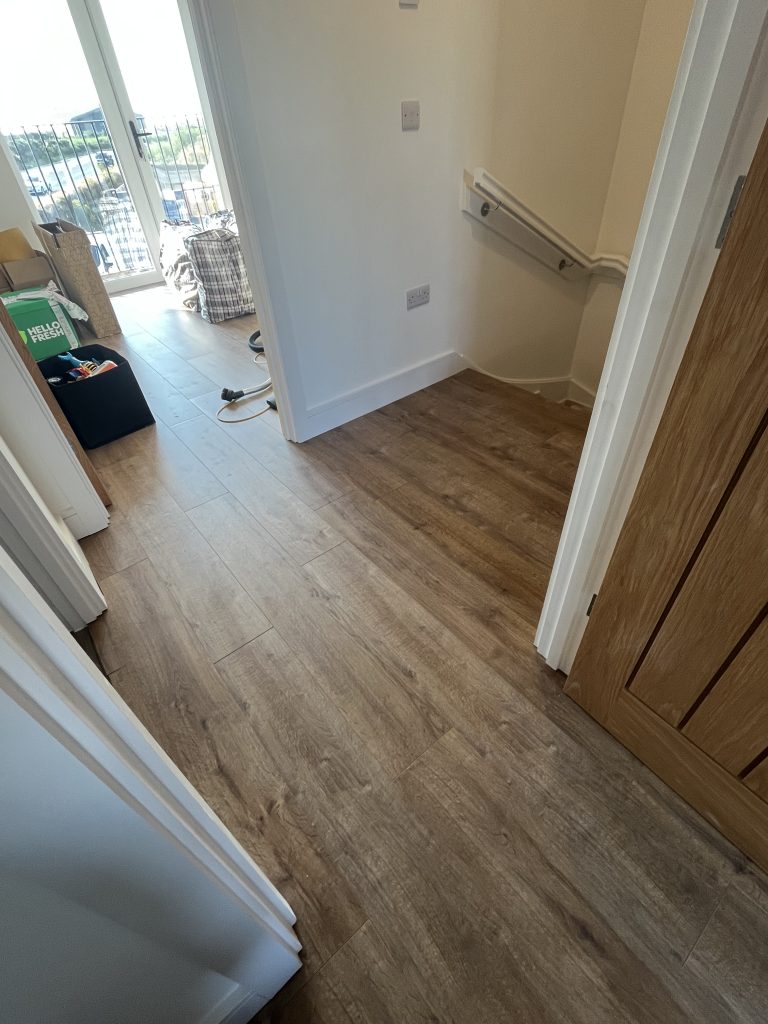
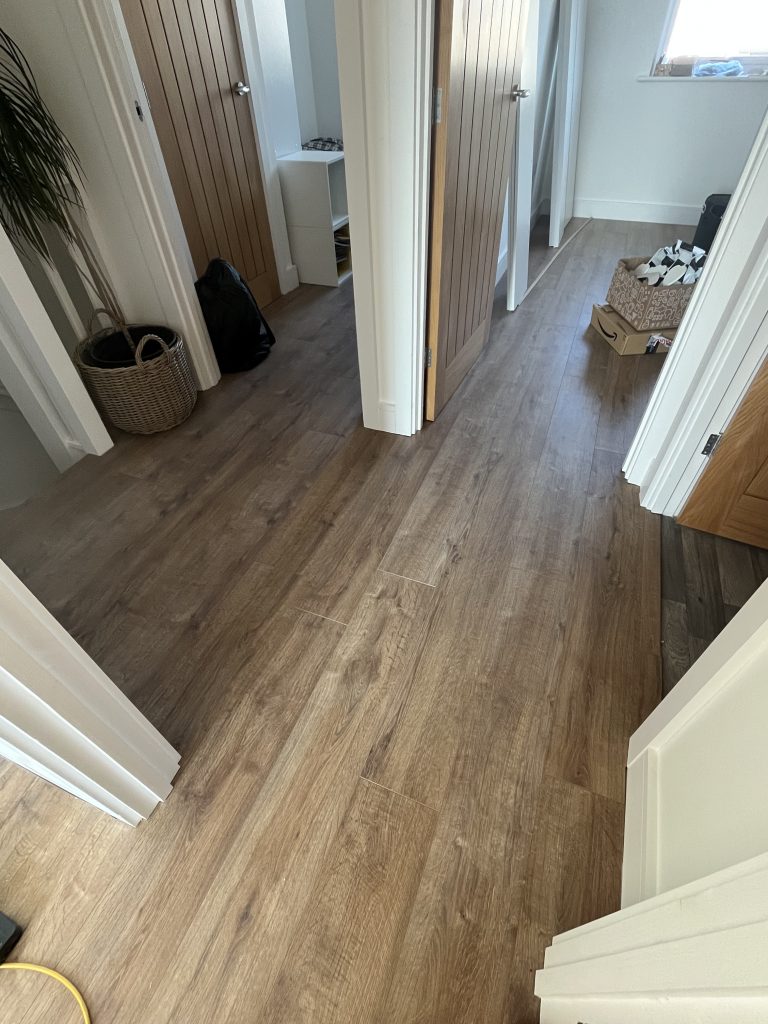
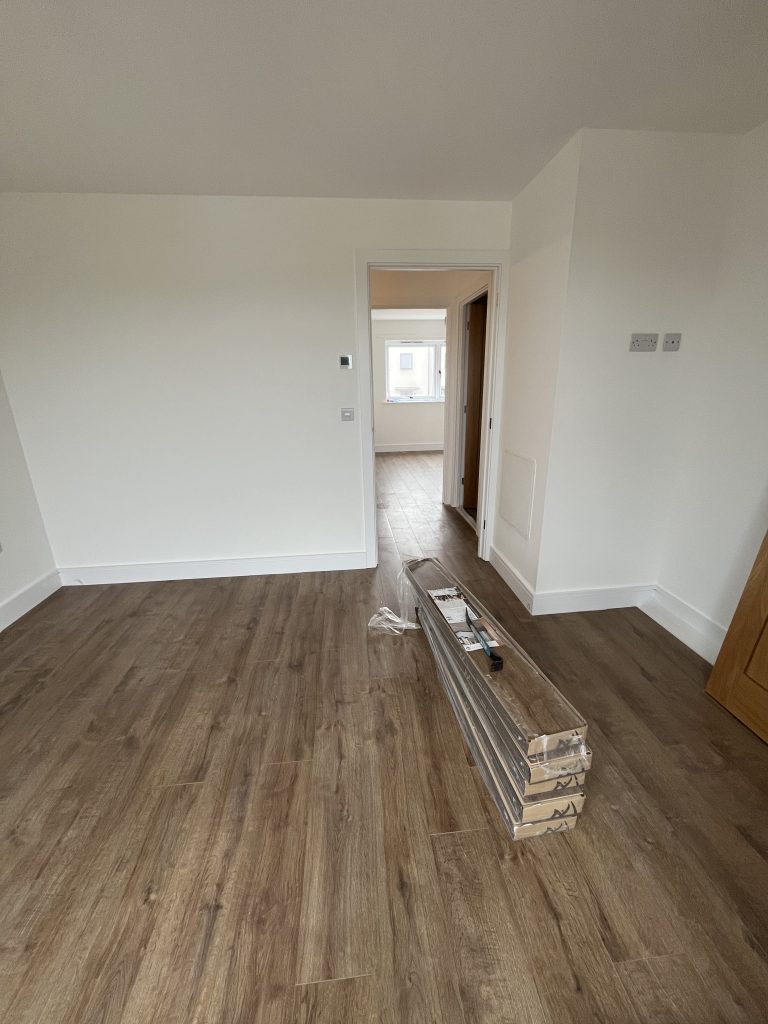
The laminate was laid in a staggered brick pattern for a natural, random look and to keep the joints strong. Working room by room, the boards ran continuously from the hallway into the open-plan kitchen and living space, up the stairs, and across the landing into all three bedrooms, so the whole house reads as one uninterrupted floor rather than a patchwork of different rooms.
Getting a professional finish in a new build means paying close attention to a few key areas:
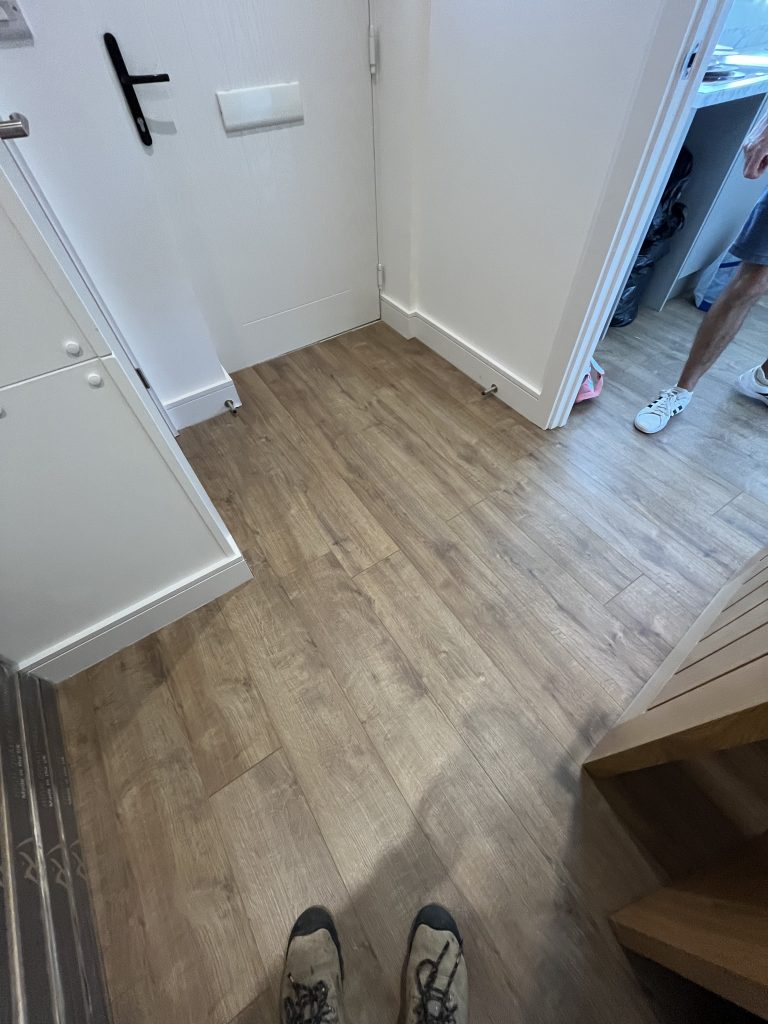
Cutting under door linings. Rather than butting the flooring up against the door casings and leaving a visible seam, each door lining was undercut so the laminate boards could slide neatly beneath it. This gives a much cleaner look than scribing around the frame, and it means the flooring can expand and contract naturally without being pinched at the doorway.
Working around the kitchen units. Rather than just cutting the laminate up to the front of the cabinets, the kitchen plinths and end panels were removed first so the flooring could be run properly underneath the units and the island. Once the boards were down, the plinths and end panels were re-cut to fit back on top of the finished floor. This means there’s no visible edge or cut line anywhere along the kickboards, no gap trim needed, and no risk of the joint opening up or catching dirt over time. It takes longer than simply butting boards up to the cabinets, but it’s the difference between a floor that looks fitted and one that looks finished.
Fitting around services. The understairs cupboard housing the solar battery, consumer unit and electricity meter needed careful cutting around cables, conduit and mounting boards, all while keeping the edges neat and leaving proper clearance for any future maintenance access.
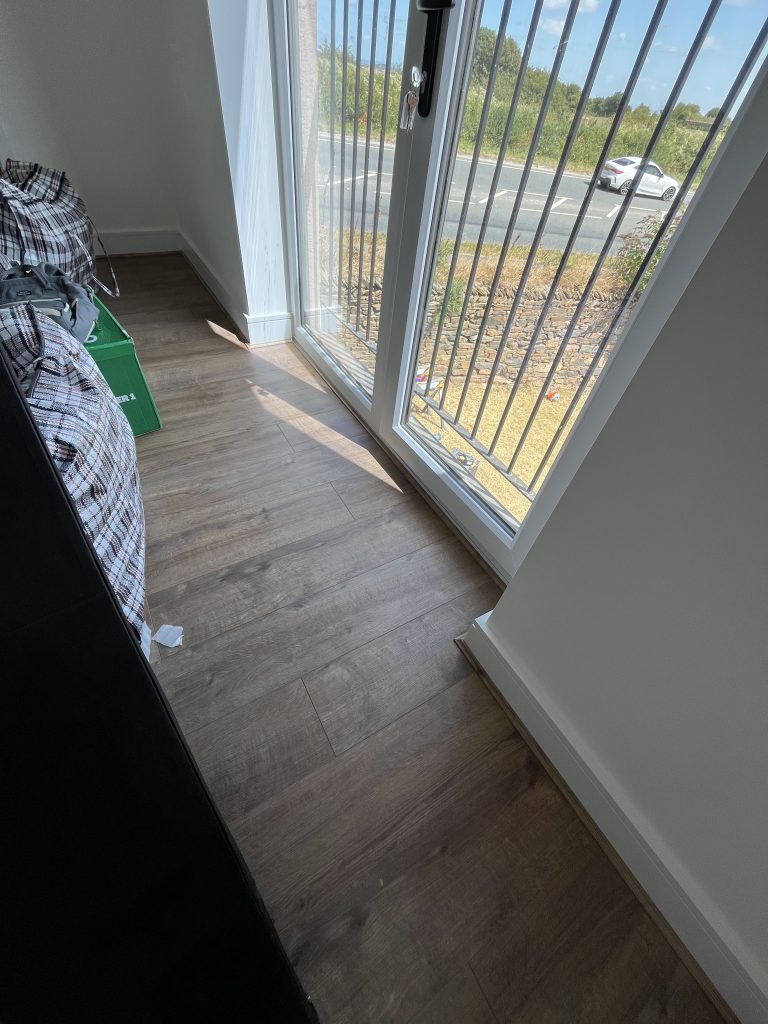
Sliding doors and thresholds. Where the living space opens onto the garden through sliding patio doors, the flooring was run right up to the threshold with a clean, straight edge, so the transition from indoors to the door track looks intentional rather than an afterthought.
Laminate flooring needs room to move. As the boards react to changes in temperature and humidity, they expand and contract slightly, so an expansion gap was left running around the full perimeter of every room, upstairs and down, between the flooring and the skirting boards. Get this gap wrong, or skip it, and a laminate floor can peak, buckle or lift over time.
Once every board was down, the final job was covering that expansion gap with scotia beading around the full perimeter of every room. Scotia is the small, curved trim that sits where the flooring meets the skirting board, and it’s what separates a good flooring job from a great one. It hides the gap completely while still allowing the floor underneath to move freely, giving a soft, finished edge to the room instead of a raw gap or an exposed line of underlay.
Getting the scotia to match was a priority for this job. Rather than a generic trim, we used beading finished to match the tone of the laminate itself, so the transition from floor to wall looks continuous and considered rather than like an add-on. Every joint was mitred at the corners and cut tight to the skirting for a seamless run around each room, on both the ground floor and the first floor landing and bedrooms.
The finished floor ties the whole house together, top to bottom: warm oak-toned laminate running from the ground floor hallway, through the open-plan kitchen and living space, up the stairs, and across the landing into all three bedrooms. Every door lining is cut cleanly so the boards slide underneath, the kitchen plinths and end panels sit back on top of the floor with no edges on show, and matching scotia trim runs around every room covering the expansion gap. It’s the kind of detail that homeowners might not consciously notice, but it’s exactly what makes a new build start to feel like a finished, lived-in home.
If you’ve just picked up the keys to a new build, terraced, semi-detached or otherwise, and you’re looking for a flooring team who understands how to work around freshly fitted kitchens, staircases and new electrics, get in touch. We’d be happy to talk through your space and get your floors finished properly, first time.
📞 07730 898992. 📧 hello@buildmaintain.co.uk
44 Cormorant Drive, St Austell,
PL25 3BA
hello@buildmaintain.co.uk
Tel: 07730 898992